What you will learn from this lessonWith Excel 97 you will:
What you should do before you start this lessonStarting Excel 97
Exploring the lessonWhen you start working in Excel, you begin using a workbook that contains screens called worksheets. They are identified as Sheet1, Sheet2, and so on. (Screens may vary, depending on the Office 97 package you have.) As you become more familiar with the available options in Excel, you can customize the menus and add buttons to the toolbars. Here is the initial screen you see when you open Excel 97.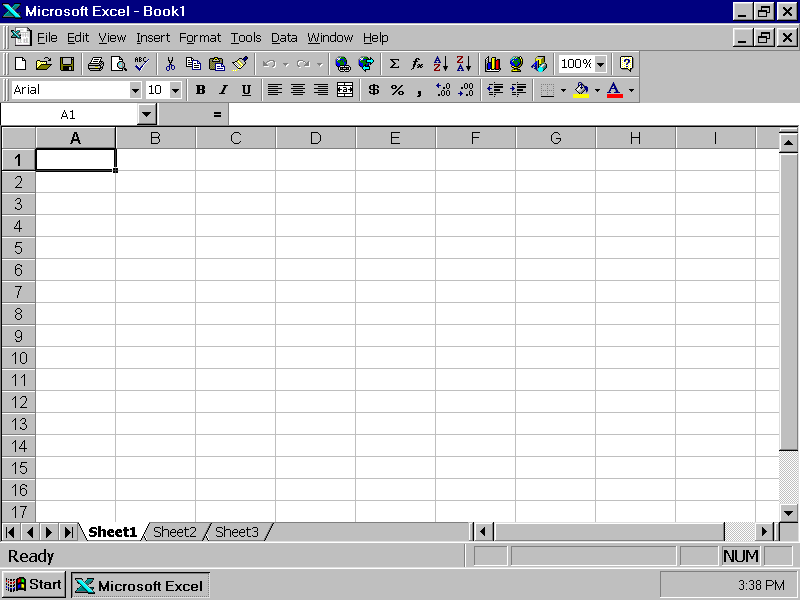 Moving around in the Excel 97 worksheetThere are a number of ways to move around in a worksheet. Moving from one cell to another in Excel is quick and easy. The ways to move from cell to cell include clicking a cell or using the Go To command, the scroll bars, the arrow keys, or the home, end, page up, and page down keys.Moving within a windowTo select any cell, click it. For example, click cell A1.
Moving from window to window
Creating an Excel 97 workbookYou can use worksheets to collect and analyze information, including lab records, lesson notes, school organization information, scientific data, weather journals, financial reports, nutritional diaries, and other data. Each worksheet can be easily customized and enhanced with graphics and artistic additions.Creating an Excel workbook
Opening an Excel 97 workbookWhile using Excel 97, you can open another workbook.Opening an existing file with the menu bar
or Select the file name, and click Open. Quitting Excel 97There are several ways to quit Excel 97. Always follow proper procedures, or your work may not be saved. All Office 97 applications prompt you to save changes if you try to quit a program without saving your open workbooks.Using automatic fillUsing the automatic fill feature in Excel 97, you can quickly and easily design useful charts for your classes. You can use this feature to create a calendar; a daily, weekly, or monthly checklist, or a special event or topic chart.Creating a chart with automatic fill
Summarizing what you learnedIn this chapter you have explored and practiced:
|